
What technician, engineer, or maker doesn’t like tools? Having the right tools for the job is essential in getting things done.
Few things are more satisfying than applying just the right tool to a specific problem to easily rectify the situation. Having a shop outfitted with the right tools and a good place to work makes fixing things and resolving problems that much easier.
I can’t tell you how many hours I’ve wasted to fix something with the wrong tools, when a trip down to the local discount toolmart and a few bucks would have saved me tons of time and frustration.
What do you think are the must-have tools for any shop? Here’s my list.
Shop Location and Setup
Solving electronics problems is exacting and detailed work with little to no room for error. You’ll need a good sturdy bench with enough room for test equipment, a good soldering iron, and storage for electrical components like resistors, connectors, etc.
Secure the shop so that the average passerby (spouse, kids, friends) can’t electrocute themselves. Make sure your bench is outfitted with a modern three-wire (meaning grounded) electrical connection. Grounding is for safety and absolutely should not be overlooked.
And don’t forget a good source of lighting. If you can’t see your work, you can’t get it done. It’s also a great idea to have lighting under your bench, for those inevitable times that you drop the tiniest component known to man, and it disappears in the shadows.

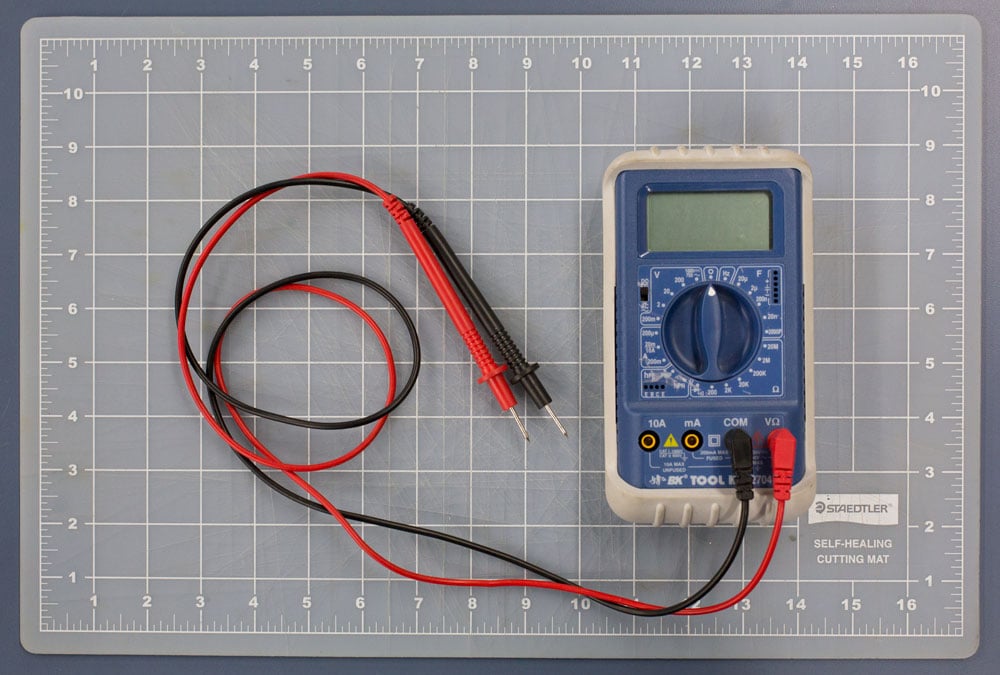
Digital Multimeter
Multimeters are used to measure voltage, resistance, and current—all the things needed to troubleshoot almost any electrical device or connection.
Multimeters range from as cheap as $5 on sale to a couple of hundred bucks for a high-end unit. In my experience the units in the middle of the price range usually work best for my needs.
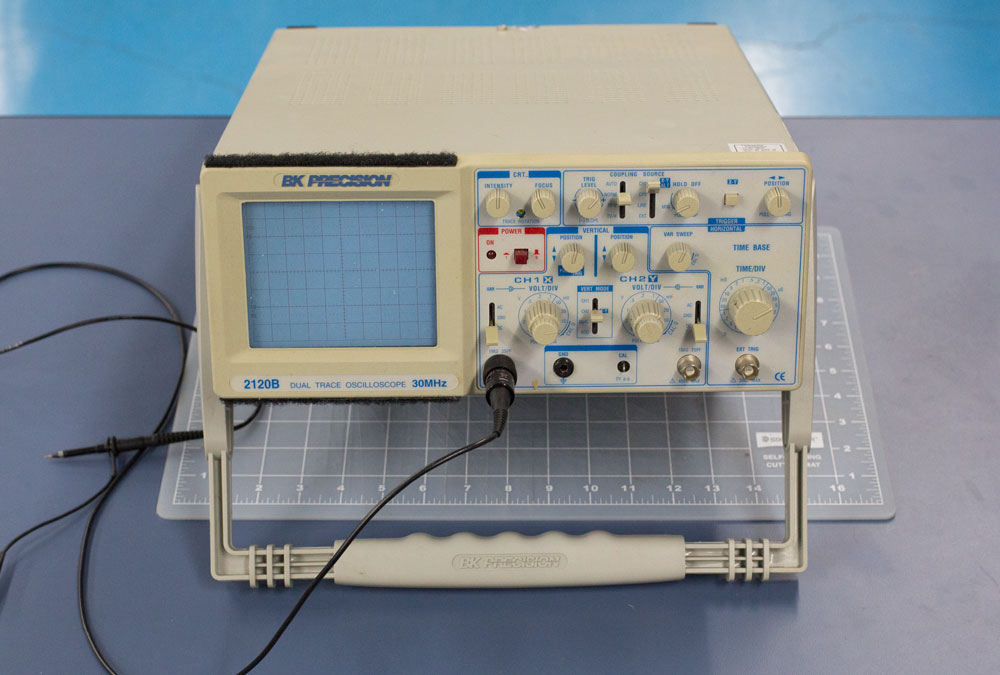
Oscilloscope
When you want to find out what’s really going on with an electrical component or signal, use an oscilloscope. The basic function of an oscilloscope is to show how voltage in a circuit changes over time. It’s the only instrument that lets you actually see what’s going on with an electronic circuit and one of the most useful tools any tech person can have. When all of your troubleshooting efforts have come up dry, it’s time to turn to an oscilloscope.
In my years as a technical support engineer and field applications engineer, I encountered many problems that seemed like ghosts in the machine. For example, in one of the devices I supported we ran into a problem where the device would drop off the network after so many hours of operation.
We tried everything we could think of: isolating it on its own network, different system settings. We even put it in a temperature chamber and exposed the device to high and low temps within its supported range to see if we could recreate the problem. It was only after we hooked up an oscilloscope to the device’s power supply that we found the source of the problem. A power supply ripple was causing the system to basically reset. Had we started with the oscilloscope, we would have saved a lot of time and effort.
You can pick up a good used oscilloscope on Ebay for a couple of hundred bucks. I’ve always had good luck with TEK 465 and 465b models. One of my colleagues also recommends small, low-cost digital scopes that take up less room, like the Rigol DS1102D 2CH 100MHz Digital Oscilloscope with Logic Analyzer, which can be found on Ebay for as low as $100.
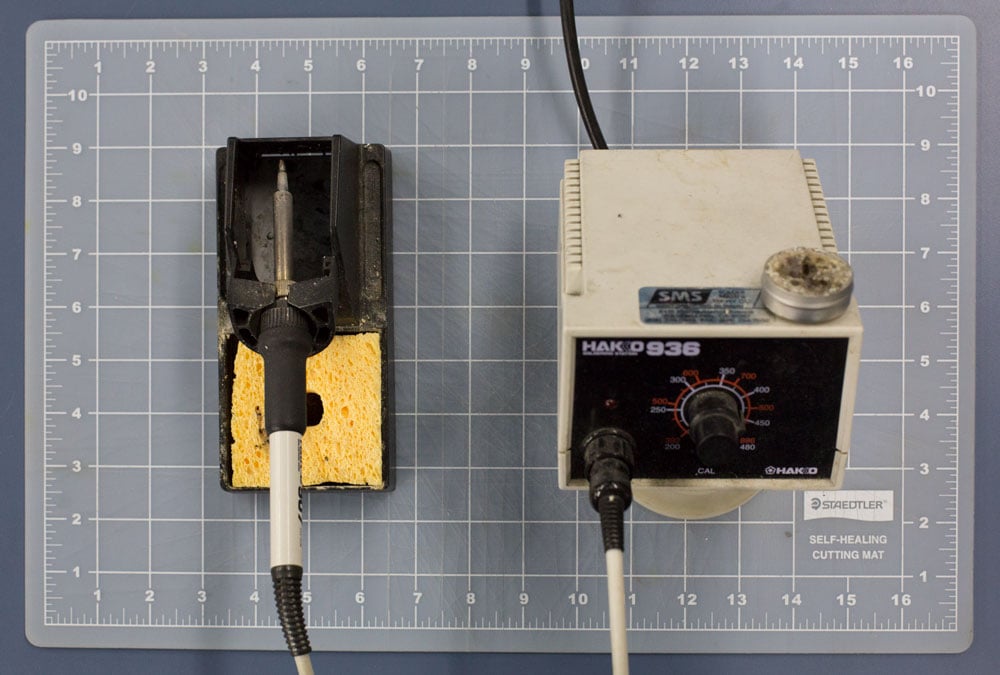
Soldering Iron
If you’re going to remove and replace electronic components, you’ll need a soldering iron. The question is what kind?
I wouldn’t skimp on price when it comes to a soldering iron, and I might even spring for two different sizes. But if you can only afford one, I’d go with an iron with a medium-sized tip and a heating element in the range of 40 to 70 watts. Or you can look for a good quality iron that has multiple tips from super fine to fat.
It’s also a good idea to go with an iron that plugs into a base unit with a step-down transformer. This kind of setup runs the heating element at low voltage and isolates the tip from the AC line, which is a nice safety feature. Variable heat controls with a digital readout really fancy things up a bit as well.
One other note on base unit style irons. With a base unit it’s much easier to avoid accidently laying the iron on the cord and melting through the insulation, thus causing a short directly across the AC line—which could very quickly ruin your day.
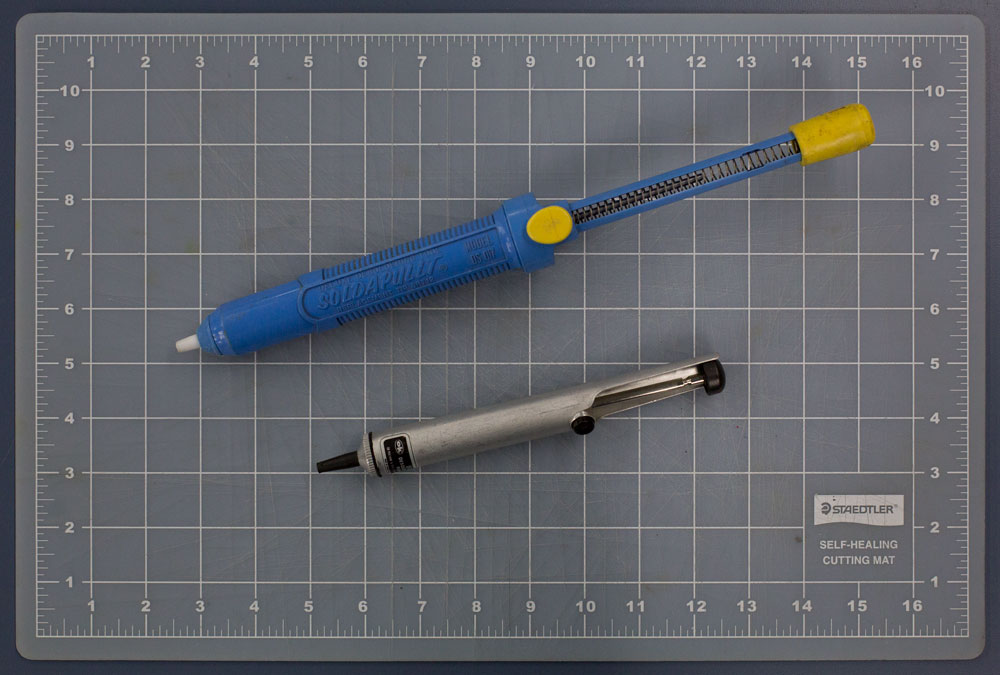
Desoldering Tools
So if you solder, you’re going to need to desolder at some point, too. One of the best desoldering tools is a soldering braid or solder wick. The wick is used to pick up molten solder off the printed circuit board during component removal.
You can also do this with a rubber solder bulb. They come in two forms; standalone and integrated into a soldering iron. Standalone bulbs are cheap and have always been my go-to.
Another great tool is a spring-loaded solder puller, which can be found on Ebay for under $10.
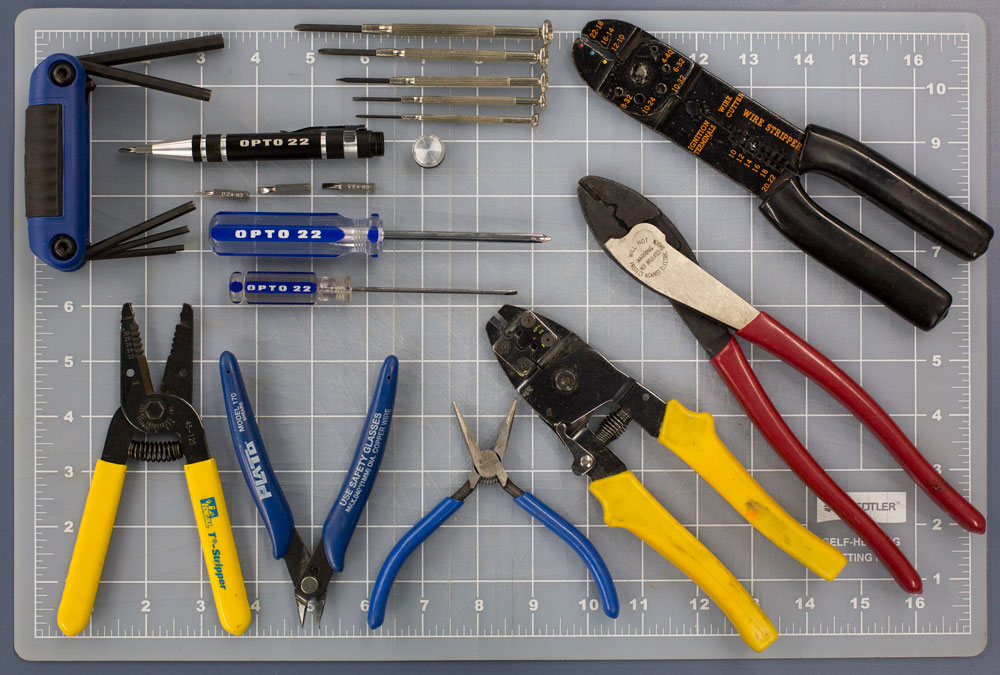
Hand Tools
Start with screwdrivers. You’ll definitely need a set of the small jeweler’s screwdrivers in Phillips, flathead, hex, and torx. Again, I wouldn’t scrimp on quality here. There’s nothing more frustrating than watching a screwdriver bit shear a small screw head into a million little pieces, because it wasn’t quite the size the manufacturer claimed. Extra points if your shop has a good selection of anti-tamper drivers, as well as a long driver set. Both will make your life a whole lot easier.
You’ll also need cutters, pliers, and crimpers. Don’t skimp on price here, either. A quality set of diagonal cutters called dikes and a good all-around RJ-45 (Ethernet) and electrical wiring crimper will serve you well for years. Make sure the handles are insulated for safety.
When it comes to pliers, there’s no such thing as too many. Different sizes, shapes, etc. will make your life easier in the long run.
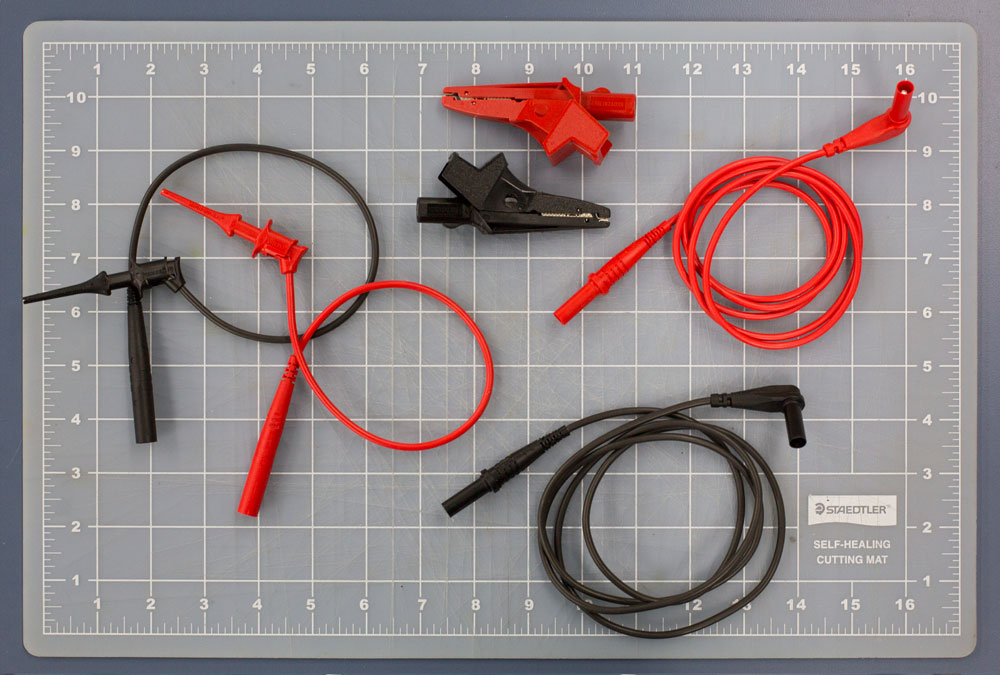
Clip Leads
Temporary connections for troubleshooting electrical connections are often required in the shop. The best way to do this is with clip leads. Be sure to solder your lead wires onto the clip leads to reduce troubleshooting headaches down the road.
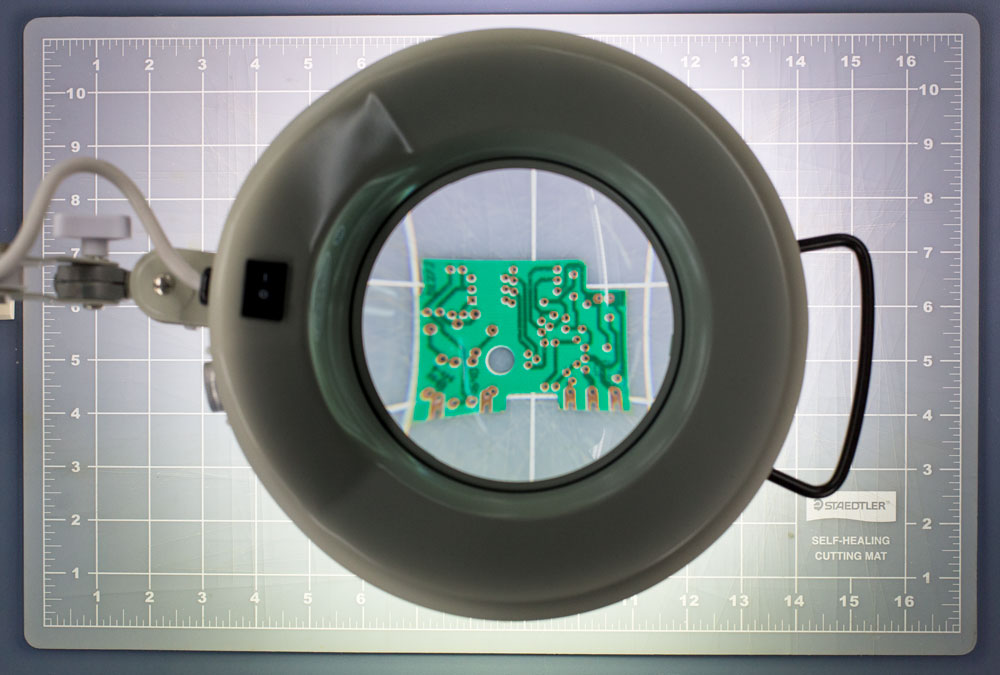
Magnifier
This goes back to being able to see your work. Components keep getting smaller and smaller, and a magnifier will help you see them.
I like the kind that clips to my glasses. I’ve also found the ones made out of glass to be more scratch resistant than those made from plastic.
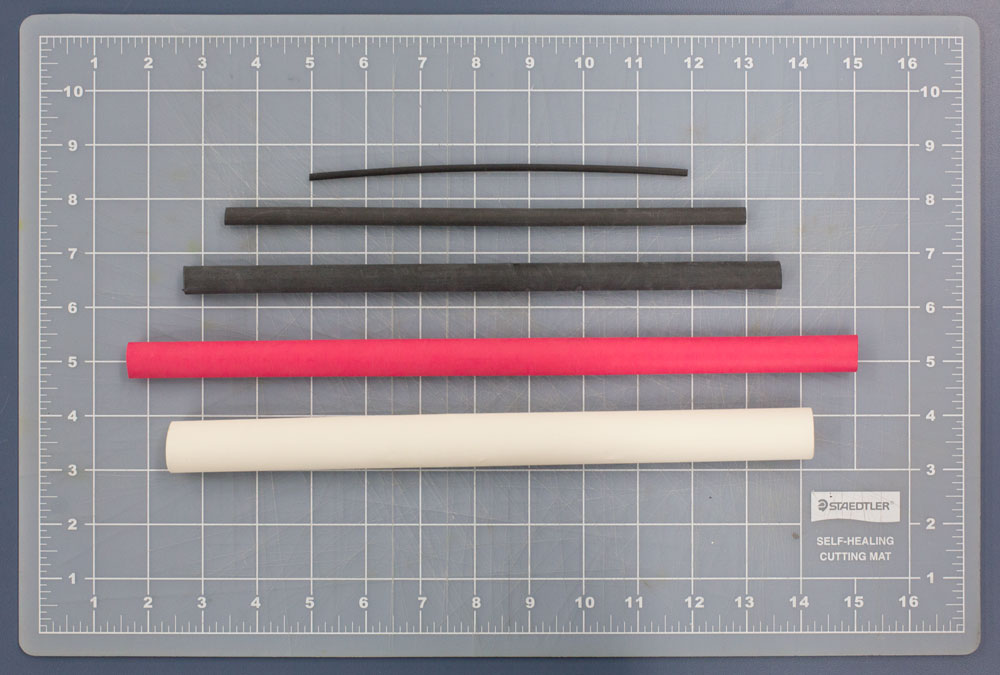
Heat-Shrink Tubing
Not only does heat-shrink tubing last longer than electrical tape, it looks a lot more professional, too. I typically buy a multipack with several different sizes and colors to keep track of my wiring.
Note: using your soldering iron to shrink the tubing may work, but it looks incredibly sloppy and should be avoided if at all possible. Again, one of those times where just because you can do it doesn’t necessarily mean you should.
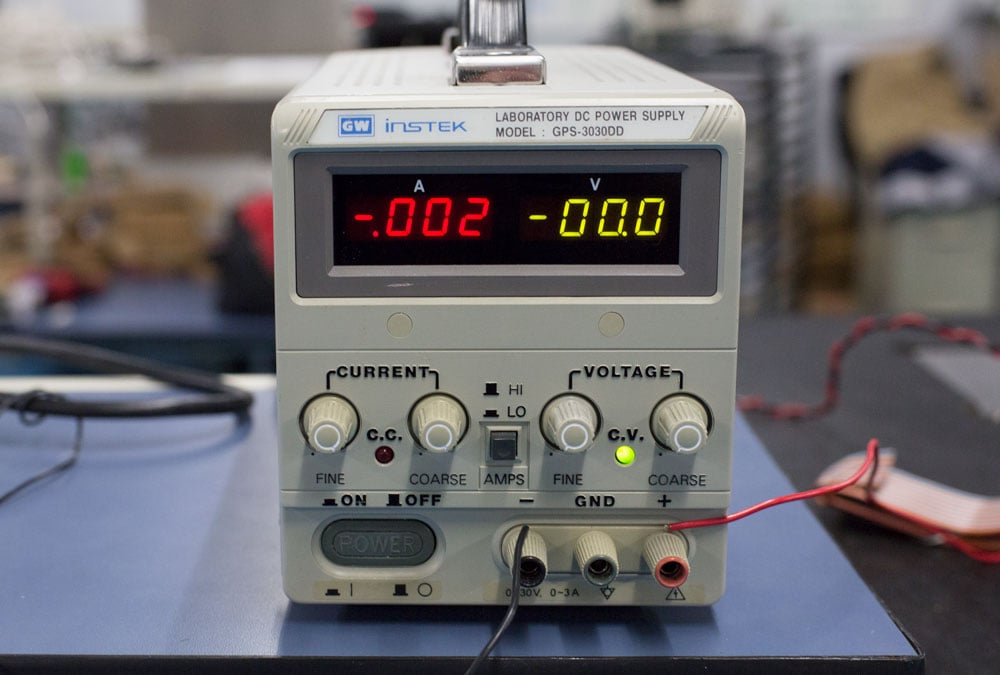
Power Supply
Unless your gadgets run on batteries, they probably require some type of power supply. A variable power supply is great. For most shop work, if you have a supply that can provide 5 amps, you should be covered. If you can get your hands on a power supply that allows you to configure a current limit, you can avoid damage if you accidentally short something out while repairing it.
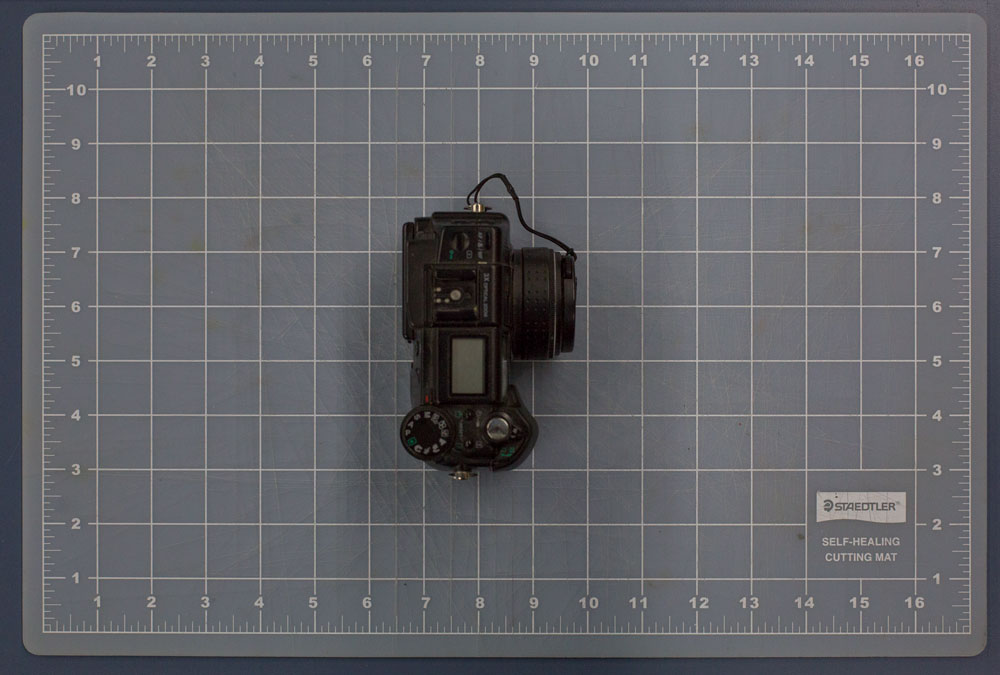
Digital Camera
It’s a good idea to take pictures of things before you take them apart. Even with the simplest automation applications, good documentation is important.
For example, last weekend I tore apart my sprinkler controller to diagnose an irrigation problem. Had I remembered to take a picture of which wire went where, I would have saved a solid hour in figuring out which irrigation zone was which.
If your cell phone camera isn’t great, I recommend either upgrading or purchasing a dedicated digital camera to capture your projects before and after. A photo can really help you troubleshoot.
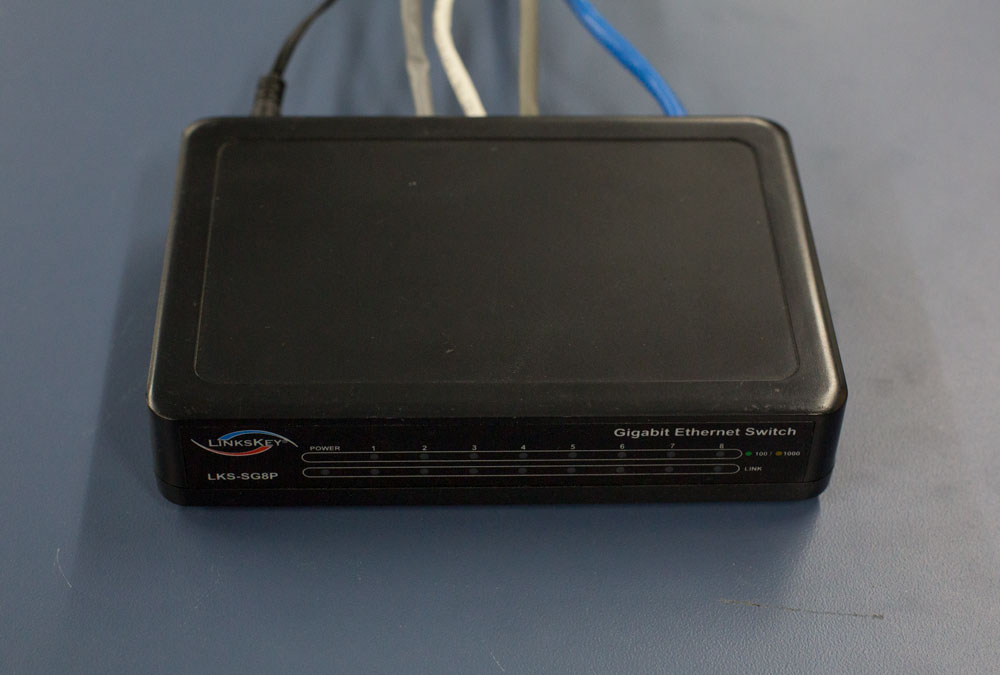
Internet Access
Though it’s probably assumed today, having Internet access in the shop is possibly the most useful tool you can have. Locating reference books for transistor types, cross-referencing replacement components, and finding disassembly hints and tricks in product forums can be a huge time-saving tool.
And let’s not forget how incredibly useful YouTube is in finding resource information on how to do something you’ve never done before. That old laptop in the closet collecting dust is a perfect fit for your shop. Functional, and you probably won’t care if it gets destroyed.
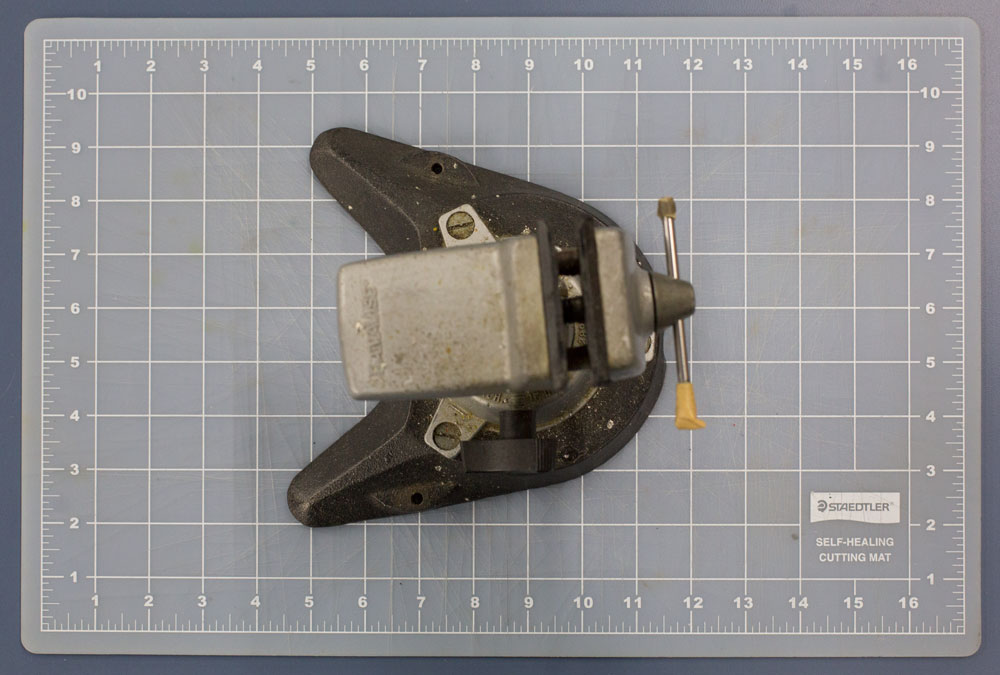
Bench Vise
Ever found yourself in the middle of trying to assemble or work on something and wish you had a third hand? There are specialty vises available from companies like PanaVise that offer all kinds of helpful ways to hold your work.
Hot Glue Gun
These little guns can be great for holding wires together while you solder them. They’re also a great way to repair all kinds of random breaks and fractures in lots of different things.
Finally...
Had I started my electronics career with a solid foundation of the right tools and a well-grounded and well-lit place to work, I think I could have saved myself a lot of time and frustration over the years.
That’s my list of the most important tools a shop should have. What’s on your list?
P.S. Are you a maker, tinkerer or hardcore electronics engineer looking to control real world devices like industrial pumps, motors, etc. using your Raspberry Pi? Check out Digital Industrial I/O for Raspberry Pi from Opto 22.
