Curious to get your hands on a groov EPIC learning center (LC)? So was I. Lucky me, this was dropped off at my cubicle recently. Let’s see what’s inside!
Build
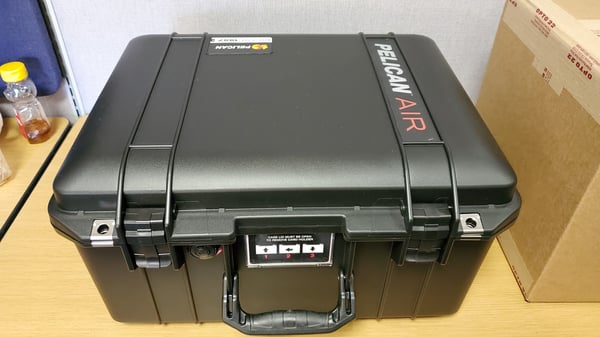
The case is surprisingly rugged, fit for travel. According to Pelican’s site, if you can’t sink it, drop it, or kick it, it isn’t a Pelican case, and from the feel of it, that’s accurate. It’s solid, and takes an effort to open the latches.
Inside, I see the back of the controller and plexiglass stand packed in high-density foam. Included with the controller are some instructions, which, like any good experimenter, I immediately set aside.
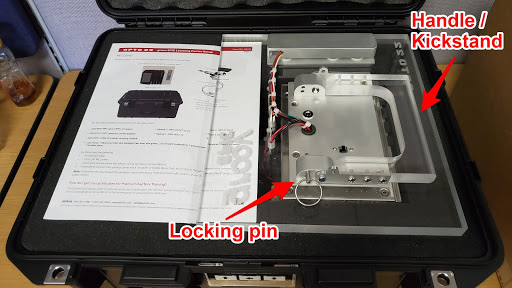
I grab what looks like a handle and give it a tug. There’s some resistance, but the controller lifts straight out. After trying to figure out how to safely place it down, I notice the locking pin and finally check the instructions to figure out how to use it.
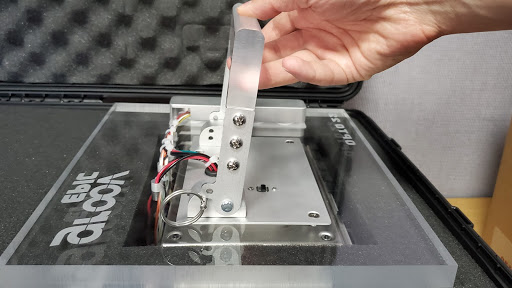
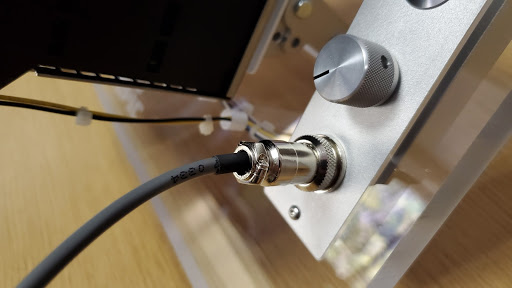
After a couple maneuvers, I get the unit upright. In the image below, you can see the two pushbutton/LED indicators, potentiometer and ICTD coupling. Removing one more layer of foam from the case, I find the power adapter and temperature probe and get everything connected.
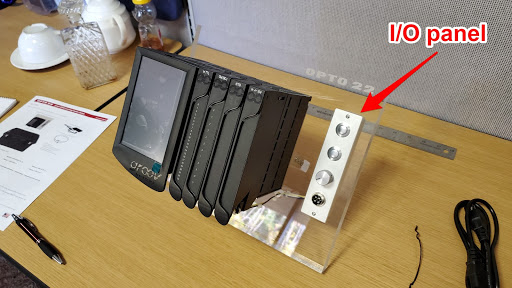
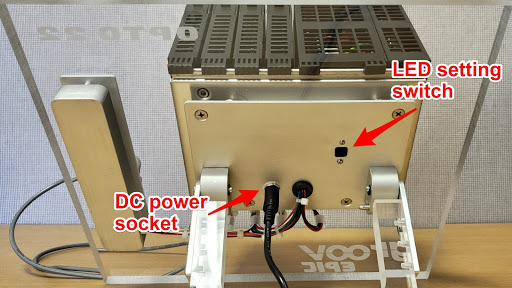
Time to awaken the machine… (It’s not happy)
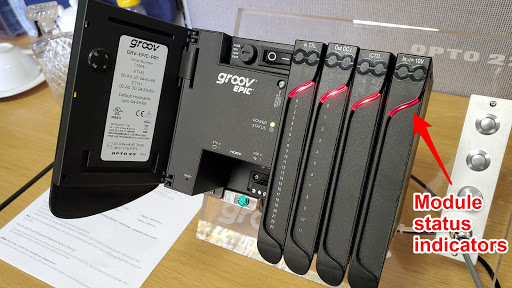
After boot-up… (All better!)
Configuration
After tapping on “Let’s get started,” I select the “Quick Start” option, which has me create an Administrator name and password. I must have fat-fingered something, though, because the next day, it won't accept the password I thought I used. Since there's no default admin account, my only option is to reset the processor and repeat the configuration. It only takes a few minutes, and I use the opportunity to move the unit to my desk and get my networking arranged.
With that done, I can complete setup from my browser. The processor has grabbed an IP address via DHCP, but I try using the default hostname, instead. It works fine, and I follow the included instructions to activate and install the license. While I’m at it, I grab the latest firmware and install that also. I find all of this at manage.groov.com using the included activation key.
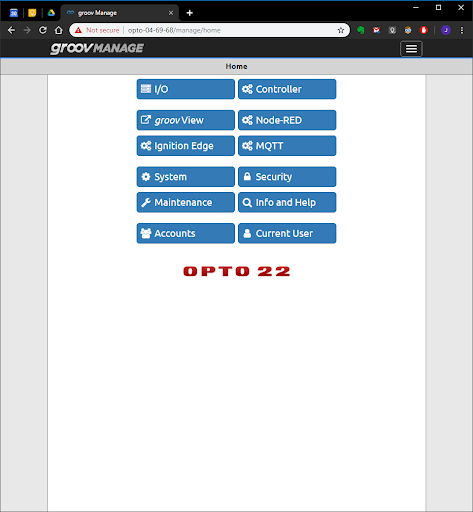
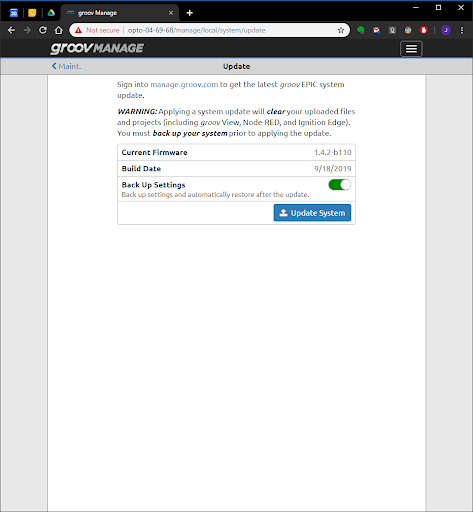
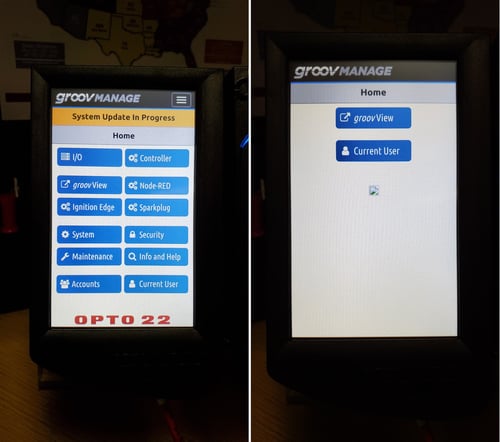
As a last step, I set up a demo user account without admin privileges. The default permissions are pretty restricted, and it seems like this user can only launch groov View.
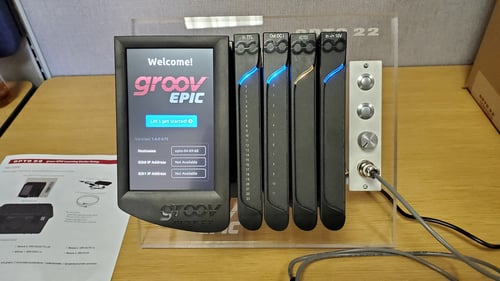
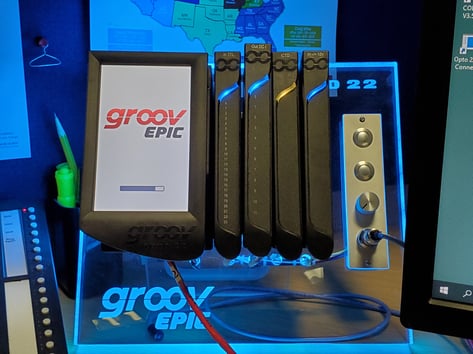
Now that the unit is all set up, I explore the I/O modules a bit. The DC output card has a big bundle of wires, so I move its front cover to the extended position. You can see it sitting slightly in front of the others in the image below of the LC nestled into its permanent home on my desk.
Next, I need to load PAC Project and CODESYS on my PC so I can put this bad boy through its paces. I also really want to try MQTT communication with Node-RED. More on that in another post.
Conclusion
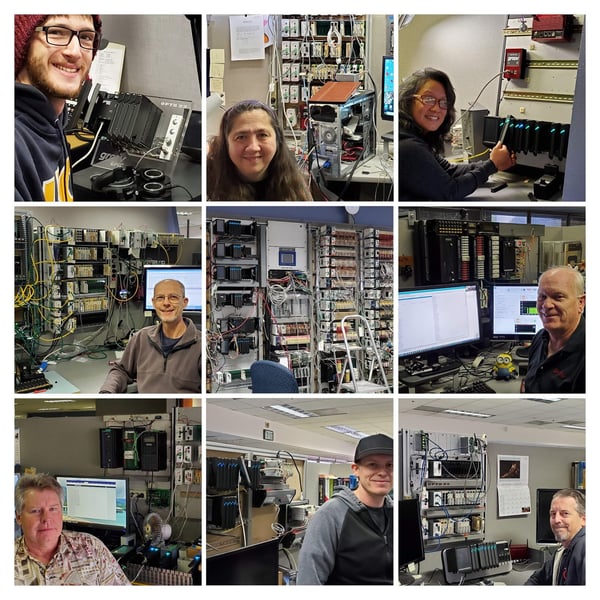
I’m glad to have my LC ready to go. It was quick to set up and will be useful for testing and training as I familiarize myself with everything groov EPIC can do. I really liked the build quality also, and it looks good on my desk. Opto 22 loves hardware, and I think that’s evident in this product. Take a look at the Opto 22 product selector to find more than 700 finished goods made on site. Here are the folks that built mine:

And just for fun, here are some of the other faces of Opto 22 and their awesome test rigs.
Opto 22. By engineers. For engineers.
See you next time!
