UPDATE: This post has been updated to reflect changes in the most recent Raspbian Jessie Lite image (no longer includes Node-RED or node.js) and to use the new Digital I/O for Raspberry Pi Starter Kit for I/O hardware (new code, photos, and video).
The Raspberry Pi® is an unquestionably powerful computer for just $35. And it really is just that: a computer. That means the Pi is capable of many tasks and perfect for many automation applications.
Couple the Pi to industrial, solid-state digital inputs and outputs, and you can build compelling and cost-effective solutions for commercial and industrial applications, too.
One of the easiest and fun ways to quickly build software applications is with Node-RED, the free, open-source software tool designed by IBM Emerging Technologies and used for wiring together hardware devices, APIs, and online services in new and interesting ways.
However, Node-RED is only included in the full PIXEL GUI version of the Raspbian Jessie Operating System, available from raspberrypi.org. Their latest 2017-07-05-raspbian-jessie-lite.img build for headless operation (no monitor, keyboard, or mouse required) is no longer bundled with either Node-RED or the required software tools node.js and npm.
The purpose of this post is to guide you through creating a headless Raspberry Pi computer with the latest versions of Node-RED, node.js, and npm, building a Node-RED application, and controlling and sensing GPIO connected to industrial digital I/O, quickly and simply. (For a sneak peek at the result of this build, see the video near the end of this post.)
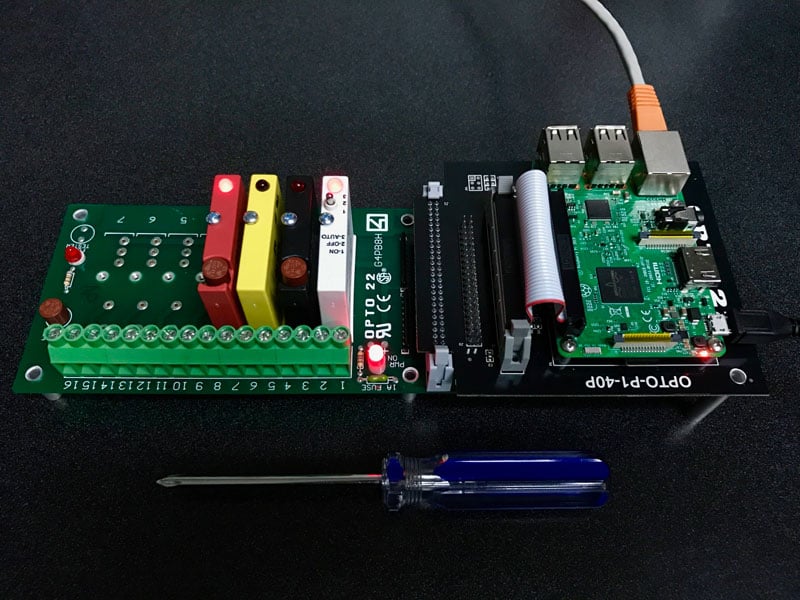
Image: New Opto 22 Digital I/O for Raspberry Pi Starter Kit with Raspberry Pi 3 Computer


